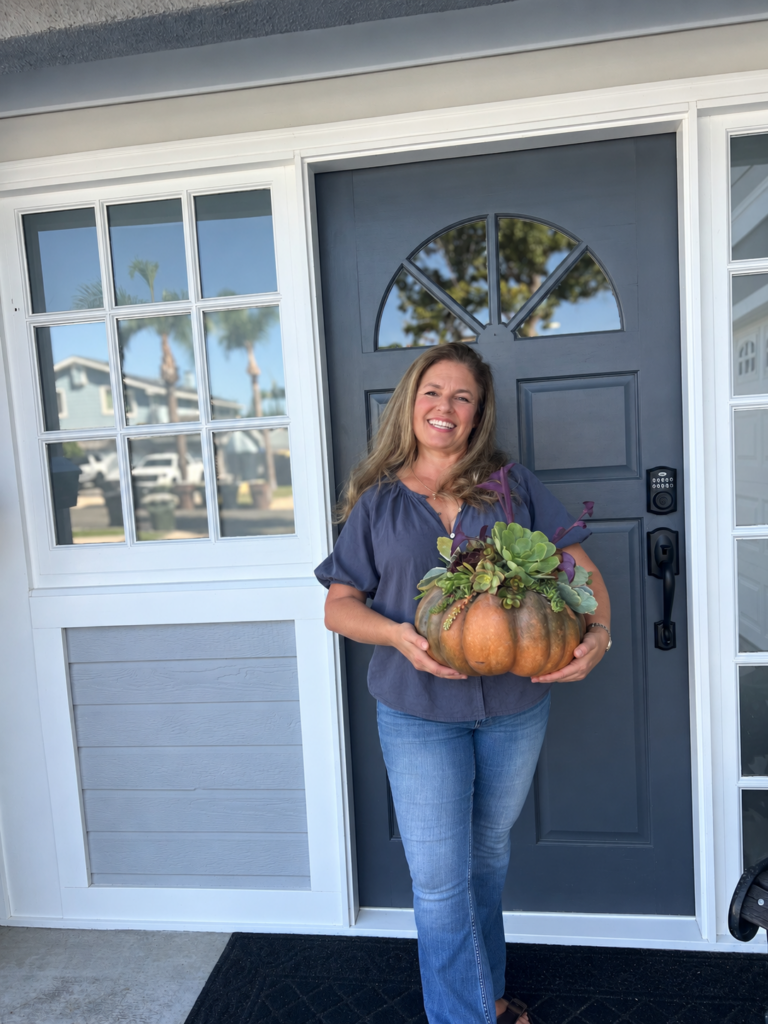


Succulent Pumpkins

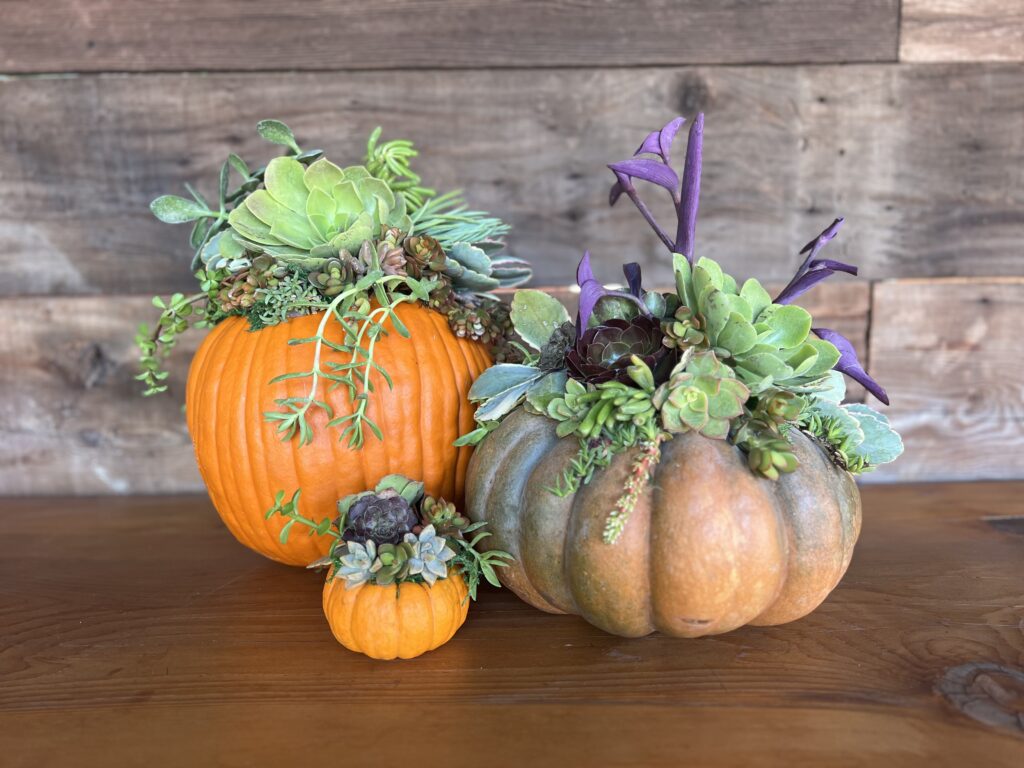
Almost every October for the past ten years, I’ve made succulent pumpkins. They’ve become one of those little fall traditions I look forward to—not only because they’re beautiful, but because so much of what goes into them is gathered from the people and places around me.
I’ve made them with my teenagers, and I’ve hosted craft days with neighbors and friends, everyone arriving with clippings from their own succulents to share. We’d sit around a big table with a couple of power strips taped down the center so everyone could plug in their glue guns. We’d make our pumpkins while visiting and chatting, and then gather around the table for a hearty lunch of pumpkin chili.
Maybe that’s part of why I love making them so much. By the time we’re finished, every pumpkin is different—and each one holds a little something that came from someone else’s garden.
How to Make a Succulent Pumpkin Centerpiece
One of my favorite things about these pumpkins is that there really aren’t many rules. I use pumpkins in all different shapes, sizes and colors, and no two ever turn out quite the same.
I usually start gathering my succulent cuttings one to two weeks before I plan to make the pumpkins. I collect them from plants I already have and often gather or trade cuttings with family, friends and neighbors. Part of the fun is seeing what I end up with—different colors, shapes and textures make every pumpkin a little different.
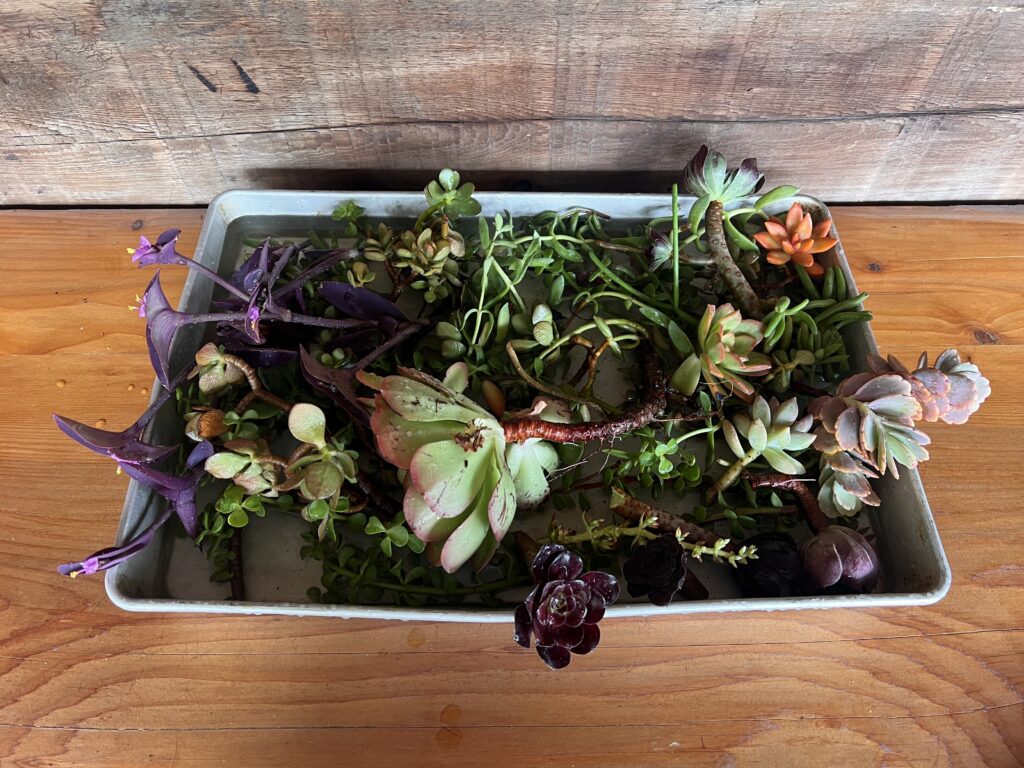
As I collect them, I keep the cuttings in a shallow pan of water and change the water every other day. I’ve kept them this way for as long as two weeks before making my pumpkins.
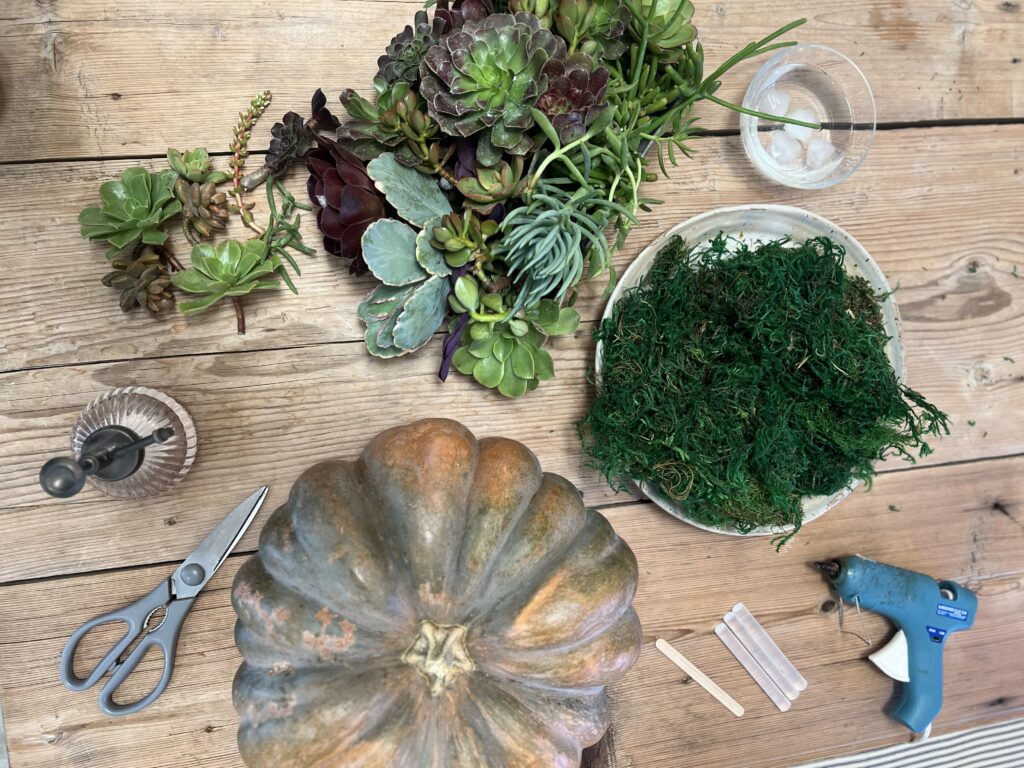
What You’ll Need
This post contains affiliate links. If you make a purchase through one of these links, I may earn a small commission at no additional cost to you.
- A real pumpkin — any size, shape or color
- Assorted succulent cuttings
- SuperMoss decorative mixed moss
- Hot glue gun
- Glue sticks
- Spray or misting bottle
- Scissors or garden clippers
- A bowl of cool water nearby — just in case of a hot-glue mishap
1. Choose Your Pumpkin
You don’t need to cut into or hollow out the pumpkin. That’s part of what allows these arrangements to last so long. Make sure the pumpkin is clean and dry before you begin.
2. Add the Moss
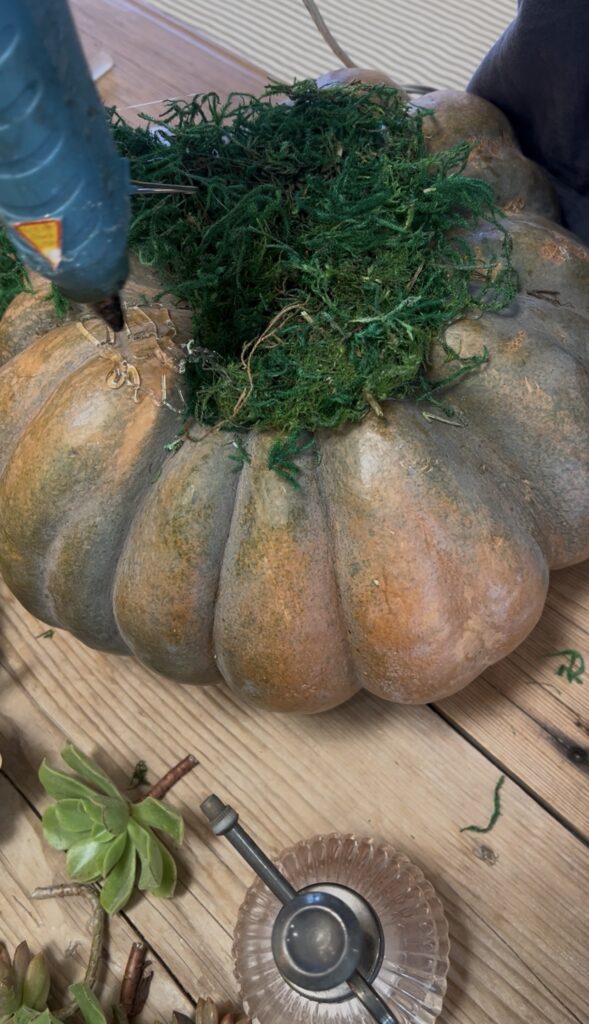
Using your hot glue gun, apply the hot glue directly to the top of the pumpkin around the stem. Press the moss into the glue using a popsicle stick or chopstick so you don’t have to put your fingers near the hot glue.
Continue adding moss around the stem to create a little nest. You want enough moss to make a soft base for the succulents and give you somewhere to build your arrangement.
It doesn’t have to be perfectly shaped. Some of the moss peeking out from beneath the succulents is part of the look.
3. Start With Your Larger Succulents
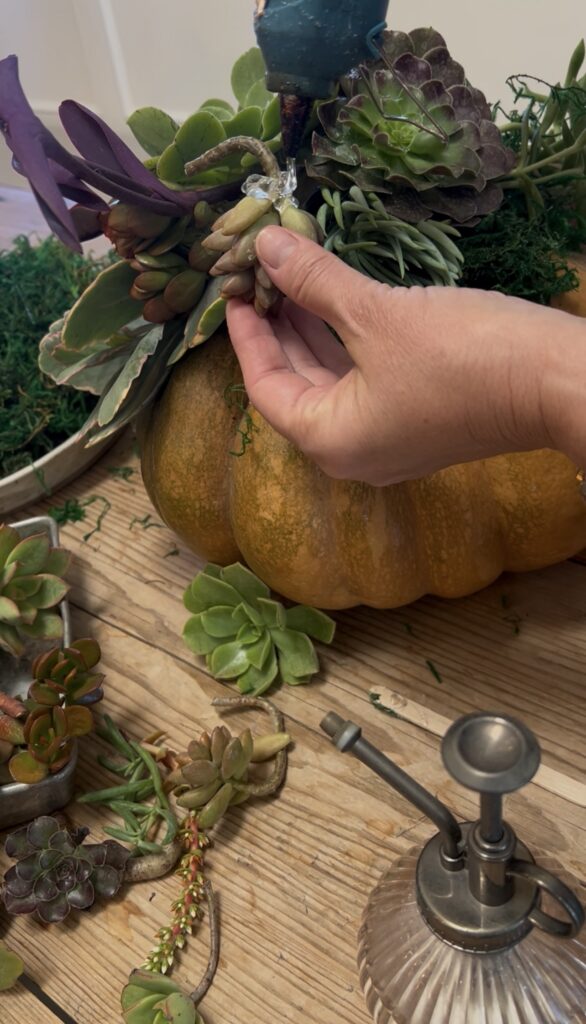
Begin with a few of your larger succulent cuttings to establish the basic shape of the arrangement. Trim the stems if needed so the succulents sit the way you want them to.
Apply hot glue around the base of each succulent cutting. Don’t worry—the hot glue won’t harm the succulent. Press the cutting gently into the moss and hold it in place for a few seconds while the glue sets.
Continue adding your larger pieces, turning the pumpkin as you work so the arrangement looks good from every side.
4. Fill In With Smaller Cuttings
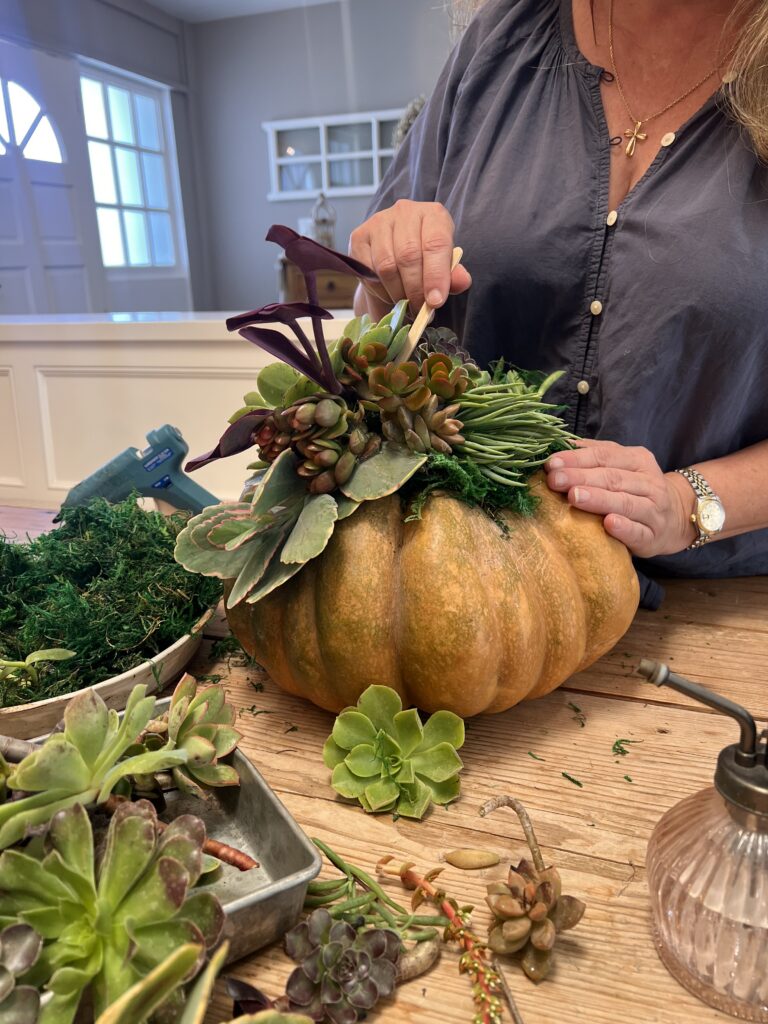
Once the larger succulents are in place, begin filling in the spaces with your medium and smaller cuttings. Turn the pumpkin as you work, deciding which side will be the front while making sure the arrangement looks good from every angle.
Continue filling in the open spaces until the arrangement looks full. Mix different colors, shapes and textures as you go, letting some pieces trail over the sides if you like.
5. Give It a Little Water
Once the arrangement is finished, give the succulents and moss a light mist.
I mist mine every other day. About once a week, I put the whole pumpkin in the sink and water the succulent arrangement thoroughly. Then I tip the pumpkin to the side to allow any excess water to drain off and set it on a towel until it is completely dry before putting it back on display.
With this little bit of care, mine stay beautiful right through Thanksgiving.
They make wonderful fall centerpieces, and I also love giving them as hostess gifts.
And When the Season Is Over…
I carefully lift the succulent arrangement from the top of the pumpkin and place it onto a pot of soil, where the succulents can take root and continue to grow.
And sometimes, instead of throwing the pumpkin away, I bury the whole thing in the garden. As the pumpkin decomposes, the seeds are left behind—and I’ve had those seeds grow into another crop of pumpkins.
Then, another fall, the whole thing can begin again.